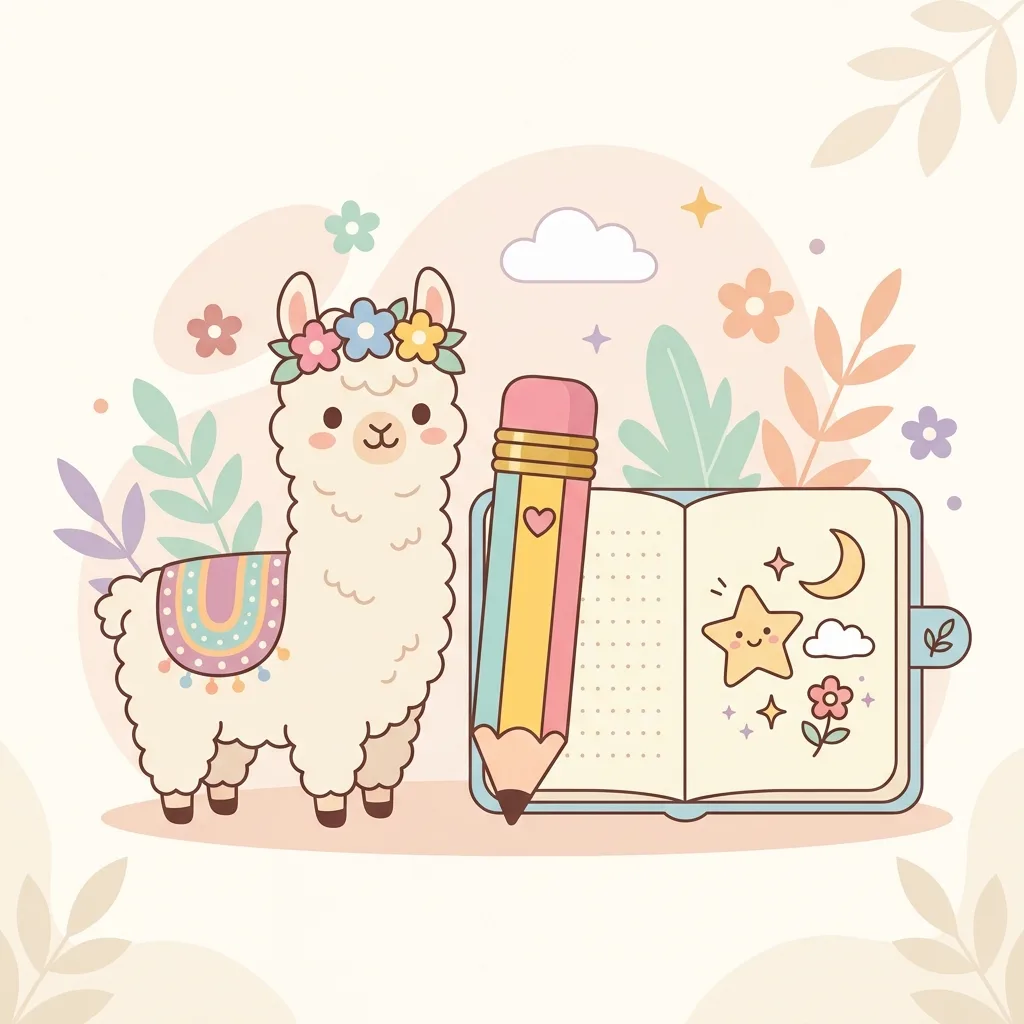
How to Draw a Llama: Step-by-Step Guide for All Levels
Learn how to draw a llama step by step: basic shapes, proportions, kawaii style and realistic versions. Perfect for beginners, kids and artists.
Learning how to draw a llama is all about understanding a few key proportions: the long arched neck, the compact body, the banana-shaped ears and the relatively slender legs. Once those basic shapes are in place, the result works equally well in a realistic style, kawaii or minimalist. This step-by-step guide breaks the process down with clear instructions for every skill level — from absolute beginners to practised illustrators looking to add a new subject to their repertoire.
Anatomical Foundations and the Initial Sketch
Proportions and structure of the llama
Before you start drawing, understanding the basic anatomy of the llama is essential for a believable result. Llamas have very specific proportions that set them apart from other animals:
| Body part | Proportional relationship | Key characteristics | Common mistakes |
|---|---|---|---|
| Head | 1/8 of total body height | Triangular profile, large lateral eyes | Drawing the head too large or round |
| Neck | 2/3 of body height when extended | Smooth "S" curve, flexible | Drawing a straight or overly short neck |
| Body | Rectangular shape, 1.5:1 ratio (length/height) | Compact torso, flanks defined by fleece | Making the body too elongated or horse-like |
| Legs | Approximately half the total height | Slender limbs, two-toed feet | Drawing thick legs or horse/cow-style hooves |
Basic shapes and the construction method
The most effective drawing method for artists at any level is to break the llama down into simple geometric shapes:
- Main oval: Draw a large oval for the body, positioning it slightly below the centre of the page.
- Secondary oval: Add a smaller oval for the head, placed at the right distance to allow the neck to connect naturally.
- Connecting lines: Draw two gentle curved lines to join the head and body ovals, defining the "S"-shaped neck.
- Leg guides: Draw four simple vertical lines dropping from the main body, marking the position of the limbs.
- Gesture line: Add a flow line running along the spine to capture the animal's posture and dynamism.
Perspective and pose considerations
Different viewing angles require small adjustments to the initial blocking-in stage:
- Side profile (easiest): Shows the perfect silhouette — ideal for understanding proportions as a beginner.
- Three-quarter view: Adds depth and character, requiring basic foreshortening of the legs and muzzle.
- Front view: Challenging because of neck compression; recommended once you are comfortable with the profile.
- Dynamic poses: Walking, grazing or on alert add life to the drawing but demand a strong gesture line to maintain balance.
Mastering Facial Features and Expression
Eye construction and expression
The eyes are the most important focal point on a llama's face. Their placement defines the friendly temperament of the animal:
- Placement: Position the eyes in the upper third of the head, oriented laterally for the characteristic llama look.
- Shape: Large almond-shaped eyes with thick, downward-sweeping lashes that give a calm expression.
- Iris detail: Dark eye — black or dark brown — with small highlights to bring them to life.
- Variations: Wide open (alert), half-closed (relaxed), side-eye (curiosity or suspicion).
Ear structure and positioning
Llama ears are long and mobile, acting as a mood indicator in your drawing:
- Banana shape: Llama ears are elongated and slightly curved inward at the tip.
- Alert ears: Pointing forward, upright and straight — ideal for curious poses.
- Relaxed ears: Angled naturally to the sides, conveying calm and contentment.
- Angry ears: Pinned flat against the neck; adds tension to the face in stylised drawings.
Muzzle and mouth structure
The llama's mouth has a distinctive shape that defines its gentle and peaceful face:
- Split lip: Llamas have a cleft upper lip (a very pronounced philtrum) that allows them to select forage selectively.
- Muzzle profile: Draw the muzzle with a gentle triangular drop that ends in a subtle upward curve at the corners.
- The natural smile: The anatomy of the llama's mouth gives it a naturally peaceful expression — very popular in kawaii illustration.
- Avoid a horse muzzle: Keep the structure small and compact; do not elongate the face too much or it will lose its llama identity.
Common expression variations
You can play with eye position, ear angle and muzzle to create a wide range of expressions:
- Curious: Head held high, ears pointing forward, wide-open eyes and a slight smile.
- Sleepy: Half-closed eyes, ears drooping to the sides and neck relaxed in a broad curve.
- Surprised: Neck stretched very tall and vertical, ears upright and close together, eyes completely open.
- Stylised kawaii: Simplified to the maximum — round black eyes close together and rosy cheeks.
Rendering Wool, Fleece and Textures
Fiber anatomy and types of coat
The fleece is the defining textural feature of the llama. There are two types of fiber you need to know how to represent:
- Outer coarse fiber (guard hair): Long, straight hairs that fall over the legs and neck.
- Fine inner undercoat: Fluffy, curly, dense wool that gives the body its rounded volume.
- Woolly llama (alpaca type): Very dense, curly fleece all over the body — ideal to represent with short, wavy strokes.
- Classic llama: Shorter hair on the face and legs, with wool concentrated on the torso.
Traditional techniques for creating textures
Different pencil techniques produce a wide variety of textured effects on paper:
| Technique | Stroke movement | Visual effect | Recommended use |
|---|---|---|---|
| Scribbling | Continuous circular loops without lifting the pencil | Dense, fluffy wool with a tousled appearance | Main body and back of the animal |
| Wavy hatching | Short "C"-shaped strokes layered on top of each other | Defined tufts with a soft volumetric feel | Neck and flanks of the llama |
| Parallel strokes | Very fine, closely spaced straight lines | Smooth, short, neat coat | Muzzle, ears and lower legs |
Digital brush techniques and settings
For digital art, setting up the right brushes saves hours of work when rendering wool:
- Textured brushes: Use brushes that mimic natural fiber, adjusting opacity to layer strokes gradually.
- Pressure size dynamics: Configure your graphics tablet so that line thickness responds to stylus pressure.
- Scatter brushes: Use them with fine grain textures to create a fluffy edge along the animal's silhouette.
- Smudge tool: Run a textured smudge brush along the edges to soften and blend the fleece.
Fiber direction and growth patterns
Understanding which direction a llama's hair grows ensures the texture looks natural in any pose:
- Neck area: The wool grows downward and backward from the head.
- Shoulder region: Fan-shaped pattern spreading from the base of the neck toward the back and chest.
- The torso: Horizontal flow that falls toward the flanks in vertical tufts pulled down by gravity.
- The legs: Hair becomes short and close to the bone, growing straight downward toward the feet.
Advanced Colour Techniques and Final Touches
Natural llama colour palettes and variations
Llamas have a wonderful range of natural colours — perfect for creating harmonious combinations in your illustrations:
| Pattern type | Base colours | Shadow tones | Highlight details |
|---|---|---|---|
| Classic white | Off-white, cream, ivory | Warm grey, soft beige, lavender | Greyed muzzle and contrasting dark eyes |
| Andean brown | Reddish brown, cinnamon, sienna | Dark brown, sepia | Cream areas on the chest and around the eyes |
| Pinto pattern | Cream with dark brown or black patches | Varies by base colour zone | Irregular, organic patches that flow with the fleece direction |
Light and shadow principles for three-dimensional forms
Effective shading transforms a flat drawing into a believable three-dimensional representation:
- Primary light source: Define the direction of light (e.g., upper right) and maintain it consistently throughout the drawing.
- Cylinder volume for the neck: Treat the long neck as a cylinder and shade the side opposite to the light.
- Cast shadows: Draw the shadow the neck casts on the chest and the one the body casts on the hind legs.
- Occlusion shadow: Add small, dark shadows at the contact points between the fleece and the legs to ground the drawing.
Finishing techniques with traditional media
Different traditional materials each bring unique textures to llama illustration:
- Graphite pencils: Ideal for detailed, realistic wool drawings — they offer excellent tonal control.
- Watercolour: Creates soft washes perfect for cream wool areas and suggested Andean mountain backgrounds.
- Alcohol markers: Excellent for cartoon and kawaii styles, achieving very clean, flat colour gradients.
- Coloured pencils: Allow layering of fine strokes to texture the hair over watercolour or marker bases.
Digital colour workflow and layer management
Organising your digital canvas by layers saves time and gives you freedom to experiment with colour:
- Sketch layer: Keep it at the top with low opacity to use as a painting guide.
- Clean line art layer: Defined, closed outlines to make filling with colour easier.
- Flat colours layer: Flat base colours applied beneath the line art with the paint bucket tool.
- Shadow layers (Multiply mode): Layers in Multiply blending mode at reduced opacity to apply fleece shadows.
- Highlights layer (Add/Screen mode): Final highlights and eye glints to give a three-dimensional, volumetric feel.
Exploring Artistic Styles and Creative Interpretations
Realistic illustration approach
Realistic illustration focuses on anatomical accuracy, detailed fur textures and natural behaviour:
- Proportion accuracy: Carefully measure the relationship between head, neck and legs before shading.
- Tuft-by-tuft rendering: Avoid continuous contour lines; define the outer silhouette using small tufts of fleece.
- Fine details: Draw individual eyelashes, the texture of a chapped nose and detailed reflections in the pupil of the eye.
Cartoon and character design approach
Simplifying features allows you to give your llama character enormous expressiveness and personality:
| Style | Features to exaggerate | Recommended simplifications | Expected result |
|---|---|---|---|
| Kawaii / Chibi | Giant black eyes, big round head, rosy cheeks | Legs as small featureless cylinders, mouth simplified to a "w" shape | Extremely cute, sweet and childlike |
| Classic cartoon | Exaggerated neck length, protruding front teeth, expressive eyes with eyelids | Clean contour line and flat colours with simple hard-edge shadows | Funny, comic and full of expressive personality |
Cultural and historical artistic style adaptations
Drawing inspiration from historical artistic traditions enriches your drawings with cultural meaning:
- Pre-Columbian style: Andean geometric patterns, earthy colour palettes (ochres, terracottas) and stylised silhouettes inspired by Inca ceramics.
- Modern folk style: Add colourful pompom blankets and traditional Andean harnesses with vibrant floral motifs across the animal's back.
- Scandinavian graphic design: Minimalist flat illustration, muted pastel colours and very clean geometric construction lines.
Medium-specific style considerations
Each artistic medium will naturally guide you towards a particular drawing style:
- Ink and line (Inkwork): Ideal for prints and drawings with crosshatching textures and high contrast.
- Loose watercolour: Favours poetic illustrations where water creates organic blooms to suggest soft fleece.
- Digital vectors: Perfect for logos, icons and clean designs for printing on t-shirts and stationery.
Professional Tips and Advanced Techniques
Acquiring and using reference material
Visual references are the cornerstone of any successful illustration. Follow these guidelines to make the most of them:
- Quality image sources: Use royalty-free image banks or take your own photos on visits to farms or animal sanctuaries.
- Avoid literal copying: Combine elements from several photos (the pose from one, the fleece colour from another, the expression from a third) to create a unique drawing.
- Analyse the silhouette: Squint at your reference to simplify the image into light and shadow values before you begin drawing.
Common mistakes and how to avoid them
| Common mistake | Why it happens | How to fix it |
|---|---|---|
| Overly long muzzle | Confusing llama anatomy with that of a horse or camel | Keep the triangular head short and the muzzle small with a rounded tip |
| Stiff legs or cow-like hooves | Lack of observation of camelid feet (pads and two toes) | Draw flat, slightly widened feet at the end — no hard hoof like cattle |
| Flat wool with no sense of volume | Drawing repetitive hair strokes without defining light and shadow areas | Group hair into small tufts and shade the base of each to create volume |
Advanced shading and rendering techniques
To achieve a professional finish in digital illustration, pay close attention to the fine interaction of light:
- Subsurface scattering: Draw the edges of the llama's ears with a vivid orange or pink tone when the light comes from behind, mimicking light passing through thin skin.
- Reflected light: Add very soft blue or green tones in the shadows on the llama's belly, reflecting the colour of the ground or grass.
- Eye glint: Place a very subtle secondary reflection in the eye opposite to the main highlight to convey moisture and depth.
Digital workflow optimisation
Working smart allows you to be more productive without losing artistic quality:
- Custom brush creation: Design a brush with three or four dots clustered together to draw fleece tufts in a single stroke.
- Clipping masks: Use clipping masks above the base colour layer to apply shadows and highlights without going outside the drawing's borders.
- Floating reference window: Keep a small reference image window alongside your digital canvas so you do not have to switch screens constantly.
Comprehensive FAQ for Llama Artists
Technical questions about materials and equipment
For beginners, a basic drawing set is enough: a medium graphite pencil (HB) for sketching, a soft pencil (2B or 4B) for shading and wool textures, smooth drawing paper and a kneaded eraser that lets you lighten strokes without damaging the paper.
Both are fantastic. Traditional media (pencil, watercolour) are excellent for learning hand control and feeling natural textures. Digital media (graphics tablet) give you the advantage of instant error correction, layers and infinite colour palette experimentation without spending materials.
The key is the long neck and banana-shaped ears. Sheep have floppy or sideways ears and very short, thick necks. If you keep the ears upright and elongated, and the neck long in an "S" shape, your drawing will maintain the unmistakable llama silhouette.
Master Llama Drawing: Practice and Patience
And there you have it! Drawing llamas is all about practice, patience and, above all, enjoying the artistic journey. With these step-by-step techniques your skills will improve day by day. How did your drawing turn out? We would love for you to share it or tell us about your experience in the comments. Keep creating!
TodoLlamas Team
Passionate about Andean culture and the world of camelids. Our mission is to research and share the most curious information about llamas.